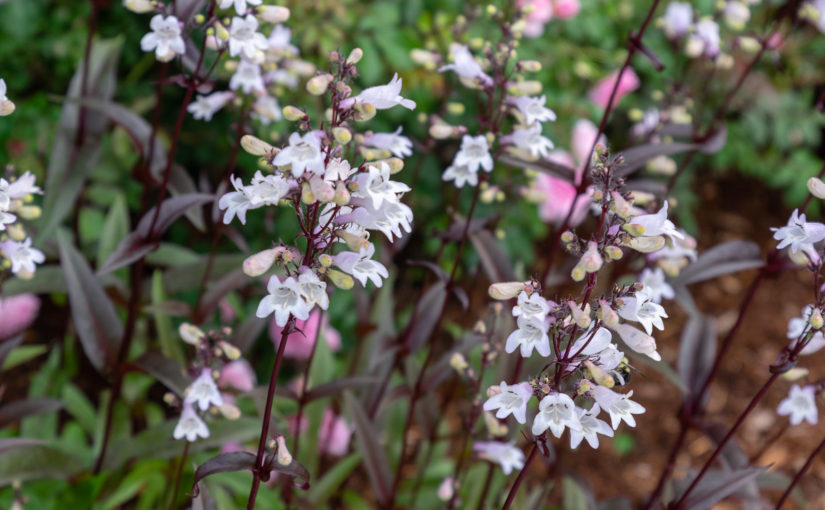
Husker Red Beardtongue has a gorgeous flower. Clean foliage. Easy to care for. Slow to spread. Attracts hummingbirds. Drought tolerant.
Husker Red Beardtongue may be the perfect perennial!
I don’t use Beardtongue as often as I should but every year when it comes into bloom I can’t figure out why.
It’s mid-June and Beardtongue is a little more than halfway through bloom here in zone 6a.
I planted these groupings of Beardtongue in a landscape with a crimson theme. You’re looking at Concorde Barberry (Berberis thunbergii ‘Concorde’) in the foreground and Forest Pansy Redbud (Cercis canadensis ‘Forest Pansy’ in the background with Husker Red Beardtongue sandwiched between.
Once the flowers fade cut the flower stalks down to the foliage and you’re done maintenance for the year. It’s that simple. Sometimes you get a second flush of blooms later in the summer.
No need to cut back the foliage in the fall, leave it alone. New growth grows through the previous years foliage.
The only time I ever had trouble with Beardtongue was when I planted it in a wet spot. Beardtongue does NOT like wet feet. It will linger and die under those conditions. The plants below did NOT make it.
Husker Red Beardtongue has a tendency to revert, go back to the straight species, often. When this happens simply dig up the clump, separate out the green foliage, and replant. The other option is to leave the green foliage and enjoy the show.
If you haven’t tried Husker Red Beardtongue yet and you have a sunny, dry spot give it a try.
The past few years I’ve been walking green kitchen scraps to the compost pile in the hopes of improving my soil and saving the environment.
Unfortunately, the compost pile is about 80 feet from the kitchen. It takes time and I don’t enjoy making the trip in the rain, snow, and cold.
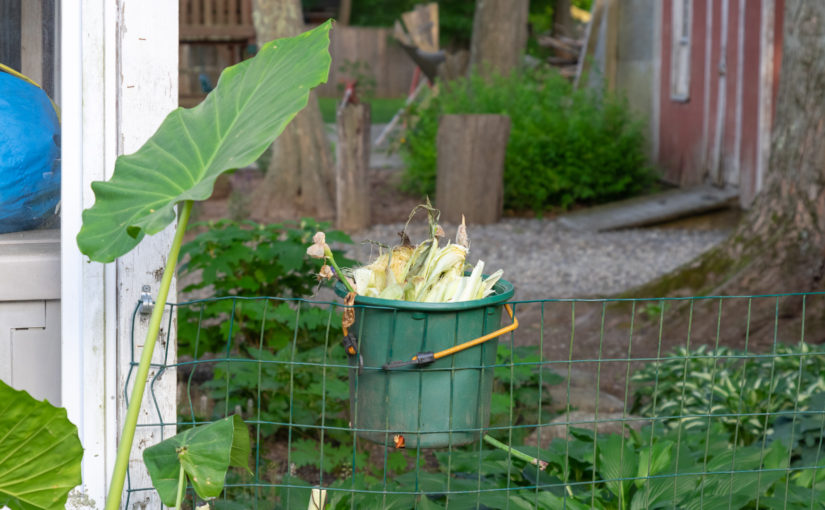
I don’t like keeping rotting waste in the house so I decided to put a pot on my patio, away from the house, for scraps. Unfortunately, windy days knocked the pot over, chipmunks jumped in the pot, and my dog rummaged through the scraps.
I decided to kill two birds with one stone by attaching the container to the dog’s fence with a bungee cord. The wind won’t blow the container over, and chipmunks and the dog can’t get to it.
Now the funny part.
Yesterday, I noticed a stream of ants climbing the wall and disappearing into our patio. I couldn’t figure out what they were doing there.
I worried the porch was in need of immediate repair because ants had made their home in rotted wood. Don’t get me wrong, the porch is due for a rebuild, but I’ve been putting that off for years.
As I contemplated how I was going to rebuild the porch I figured out the source of the problem. Ants were walking from the porch to the kitchen compost bin using the fence as a highway.
Needless to say, I’ll be moving the kitchen compost bin farther from the house tomorrow. How far remains to be seen.
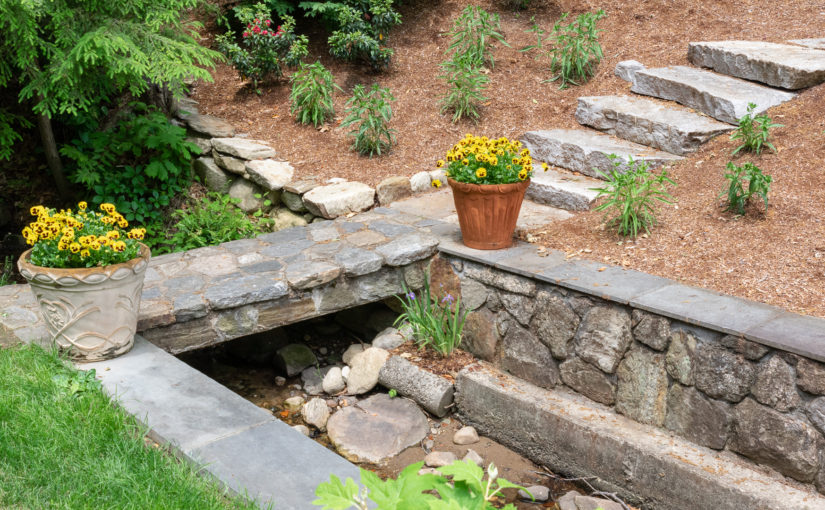
Blue Flag Iris tolerates shallow standing water and has purplish-blue flowers in early-June here in Zone 6a.
But this post isn’t about the merits of Blue Flag Iris. It’s about what a cool spot that was for Blue Flag Iris.
Small Details Make a Big Difference
I get a thrill out of small details like the grouping of Blue Flag Iris. These are the details that make or break a landscape. Placing a boulder in the right spot, staggering bloom times, smooth flowing edges, a place to sit and enjoy the landscape.
Lately, I’ve been planting groups of perennials with one outlier, so it looks like the perennials are spreading into the landscape.
One of my favorite details of this landscape is a Rat Snake living along the stream bed. I’ve stumbled on it sunning in the water twice this season. I hope to get a picture of it before the end of the year.
All of these details, while seemingly small, add up to an exciting and cozy landscape.
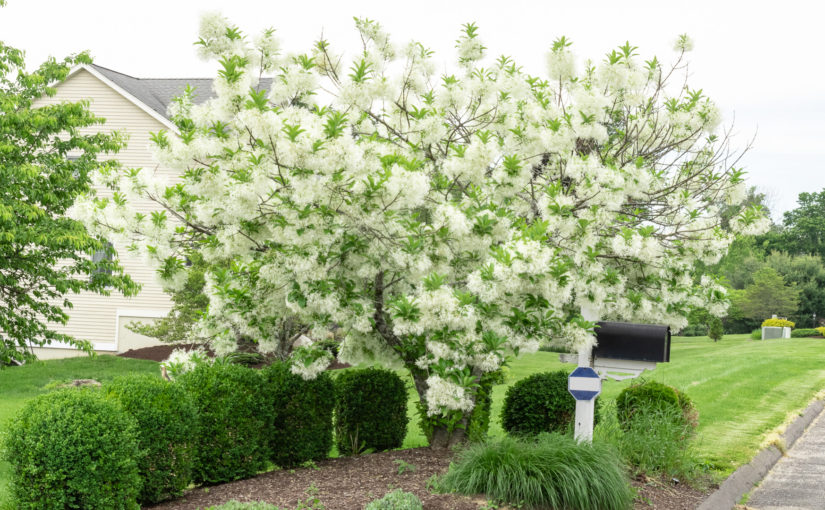
Last week while driving I spotted the beauty above, a White Fringetree (Chionanthus virginicus) in full bloom. The tree was a sight to behold.
I took this picture the first week of June in Zone 6a. Bloom time is in line with the Kousa Dogwood (Cornus kousa), possibly starting a little earlier.
Dirr’s Hardy Trees and Shrubs: An Illustrated Encyclopedia says the White Fringetree grows 12 to 20 feet high and wide in Zones 4 to 9. Dirr recommends it as a woodland or understory naturalizing plant. I agree. I’d love to see it on the edge of the woods with a high canopy above.
I’ve only planted White Fringetree once in my career and while the flower was beautiful the tree seemed to linger and never thrived. I spotted dead branches on this tree though the branches that are alive seem perfectly healthy.
While some dead branches may be a drawback I recommend White Fringetree. I would relegate it to the edge of the woods and not in a prominent spot in the landscape. Know that you’re going to have to periodically clean the tree out, especially in Connecticut.
If you look at the base of this tree you can see a lot of sucker growth. That’s a sign of a stressed tree. I have to give credit to the person who planted it, you can see the root flare. Nice job!
The White Fringetree is great for collectors, and possibly naturalizing, here in Connecticut.
I started looking for White Fringetrees online and found White Fringetree Seedlings at Garden Hills Nursery. I’m impressed with the variety of trees Garden Hills offers, be careful if you’re a collector and visit their website.
Have you ever grown White Fringetree (Chionanthus virginicus) ? What do you think of it?
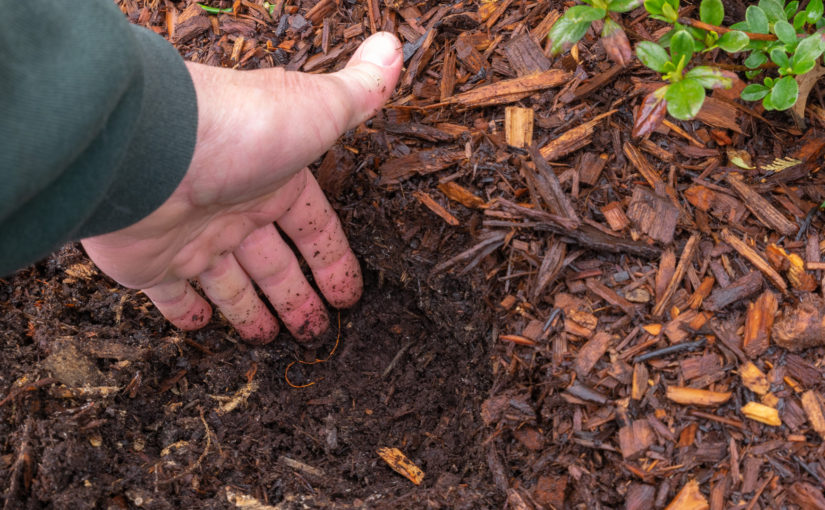
This spring I visited a home that had recently been mulched and was shocked at how deep the mulch was and how little preparation went into the job.
Weeds that had been covered in mulch poked through and the mulch was easily four to five inches deep.
I recommend carrying a soil knife and removing perennial weeds, such as Dandelion, down to the root before mulching.
This garden should not have been mulched; the time and expense should have gone into weeding.
Deep mulch leads to unhealthy plants and looks unnatural. On some jobs, I have to remove deep, old mulch before applying new.
Once a garden is established an inch of mulch is all you need.
Benefits of light mulching include:
Mulch won’t require yearly turning.
Oxygen can easily enter the soil.
Mulched over tree bark won’t become an entry point for insects, disease, and rodents.
Water easily filters through.
Less mulch looks more natural, like a coating of leaves on the forest floor.
Plant roots grow into the soil instead of growing into mulch that quickly dries.
Whether you’re a contractor or a homeowner try not applying mulch one year and see the difference it makes. Your plants will be healthier with significantly less work and expense.
Below is a landscape I mulched this spring by applying just enough mulch to do the job. No more. No less.
Spread less mulch for a more healthy landscape and sometimes you don’t need to add any mulch at all.
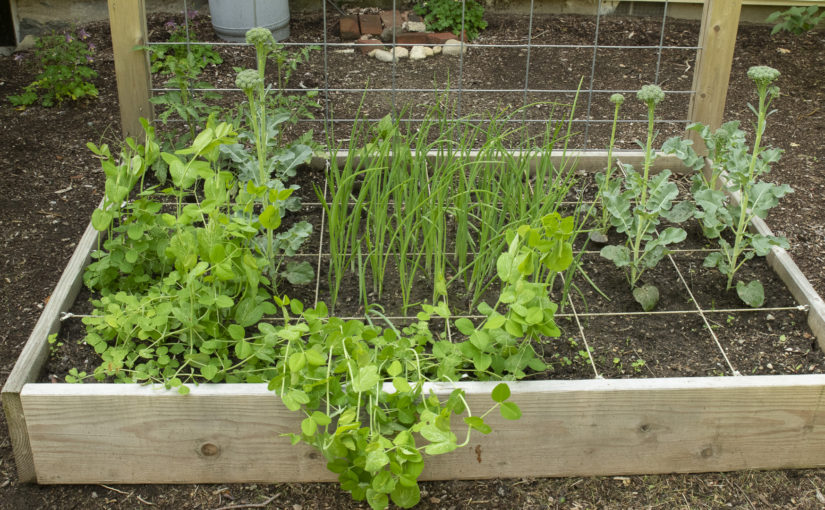
My other Square Foot Garden bed is filling up fast. In this bed, I planted Sugar Snap Peas, Onion Sets, and Artwork Broccoli.
Artwork Broccoli
I stumbled onto Artwork Broccoli at Tractor Supply. Artwprl Broccoli has an upright habit and is quick to grow secondary heads once the main head is harvested. The heads of Artwork Broccoli aren’t as large as traditional Broccoli but there are more of them for a longer time.
Artwork Broccoli has an extremely upright habit.
After taking these pictures I cut off the broccoli heads and steamed them. Delicious!
If you look in the leaf axils you can see new broccoli heads forming. As soon as the main head is cut the secondary heads start growing.
Red Onion Sets
I’m also growing Red Onion Sets. I placed the sets in the soil in mid-April and after six weeks of growth, they have come a long way.
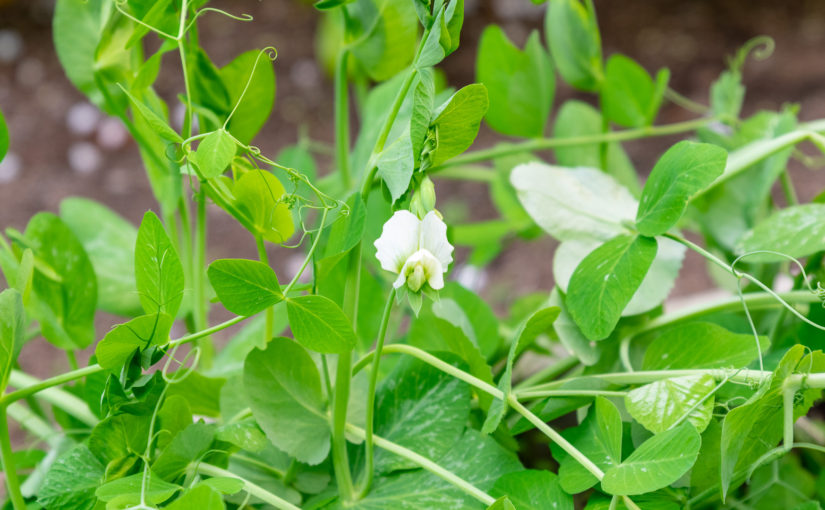
Sugar Snap Peas
Sugar Snap Peas finish out the bed. The Sugar Snap Peas have been growing fast but so far no signs of flowers.
Thanks for joining me on a tour of my Square Foot Garden. I’m looking forward to sharing more updates throughout the year.
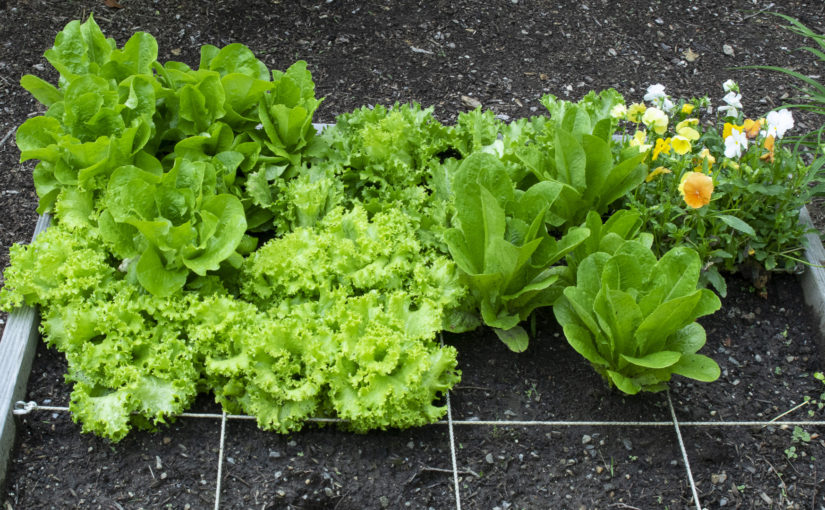
The wettest spring I remember has my Square Foot Garden growing like, well, a weed. I planted my cool season lettuce in mid-April and it’s taken off since then.
First I planted Romaine Lettuce. I like how Romaine Lettuce stands upright and the loose habit makes it easy to harvest a few leaves at a time. I also enjoy the taste.
Iceberg Head Lettuce
Next, I planted Iceberg Head Lettuce. Iceberg Head Lettuce is my go to when buying lettuce at the grocery store. The secret, in my humble opinion, is to shred it thinly when cutting for a salad.
When reading about Iceberg Head Lettuce at Bonnie Plants I learned head lettuce grown on the east coast may not have as tight a head as lettuce grown on the west coast. After harvesting one head I agree.
Garden-grown head lettuce is a bear to clean. I watched the video below for lettuce cleaning tips. The best way to clean freshly picked lettuce is to dip it in a large bowl of water and use a salad spinner for drying.
Buttercrunch Lettuce
I’ve read Buttercrunch Lettuce has good taste and is easy to grow. I tried grocery store Buttercrunch Lettuce over the winter and the taste was strong. We’ll see how freshly grown tastes!
Green Leaf Lettuce
The final lettuce I planted is Green Leaf Lettuce. Green Leaf Lettuce resists bolting, when plants go to seed in the summer’s heat.
I find it interesting that the best name anyone could come up with for this plant is “Green Leaf Lettuce.” I wonder if the same person bred a pumpkin called “Orange Pumpkin.”
In my next post, I’ll show you my Square Foot Garden planted with onions, broccoli, and sugar snap peas.